目录
- 前言
- 安装elasticsearch-head
- 步骤1:准备
- 1. 安装docker
- 2. 搜索可以使用的镜像。
- 3. 也可从docker hub上搜索镜像。
- 4. 选择合适的redis镜像。
- 步骤2:拉取elasticsearch-head镜像
- 拉取镜像
- 查看已拉取的镜像
- 步骤3:创建容器
- 创建容器方式1:快速创建容器
- 步骤4:启动容器
- 步骤5:检查是否安装成功
- ElasticSearch-head 配置
- 工作目录/WorkingDir
- ElasticSearch-head 容器设置
- 容器随 docker 自动启动
- 容器设置IP
- 其它
- 打开 elasticsearch-head
- 登录容器
- 从 docker 向宿主拷贝WorkingDir目录
- 从宿主向 docker 拷贝文件
- 406 错误
- 参考
前言
- TencentOS Server 3.1
- Docker version 19.03.14, build 5eb3275d40
- ElasticSearch/ES 8.9.0
安装elasticsearch-head
步骤1:准备
1. 安装docker
安装 docker 参考:【Centos 8】【Centos 7】安装 docker
2. 搜索可以使用的镜像。
shell> docker search mobz/elasticsearch-head
NAME                      DESCRIPTION                                     STARS     OFFICIAL   AUTOMATED
mobz/elasticsearch-head   elasticsearch-head front-end and standalone …   95
3. 也可从docker hub上搜索镜像。
docker hub,docker hub-stage。
4. 选择合适的redis镜像。
| 版本 | 拉取命令 |
|---|---|
| 5 | docker pull mobz/elasticsearch-head:5 |
步骤2:拉取elasticsearch-head镜像
拉取镜像
shell> docker pull mobz/elasticsearch-head:5
5: Pulling from mobz/elasticsearch-head
75a822cd7888: Pull complete
57de64c72267: Pull complete
4306be1e8943: Pull complete
871436ab7225: Pull complete
0110c26a367a: Pull complete
1f04fe713f1b: Pull complete
723bac39028e: Pull complete
7d8cb47f1c60: Pull complete
7328dcf65c42: Pull complete
b451f2ccfb9a: Pull complete
304d5c28a4cf: Pull complete
4cf804850db1: Pull complete
Digest: sha256:55a3c82dd4ba776e304b09308411edd85de0dc9719f9d97a2f33baa320223f34
Status: Downloaded newer image for mobz/elasticsearch-head:5
docker.io/mobz/elasticsearch-head:5
查看已拉取的镜像
shell> docker images
REPOSITORY                TAG       IMAGE ID       CREATED        SIZE
hello-world               latest    9c7a54a9a43c   3 months ago   13.3kB
nacos/nacos-server        v2.2.1    faff56ad2ef5   4 months ago   1.17GB
redis                     6.2.1     de974760ddb2   2 years ago    105MB
elasticsearch             7.12.0    9337ed510a0c   2 years ago    830MB
mysql                     5.7.31    42cdba9f1b08   2 years ago    448MB
mobz/elasticsearch-head   5         b19a5c98e43b   6 years ago    824MB
步骤3:创建容器
创建容器方式1:快速创建容器
shell> docker create --name elasticsearch-head1 -p 9100:9100 mobz/elasticsearch-head:5
步骤4:启动容器
shell> docker start elasticsearch-head1
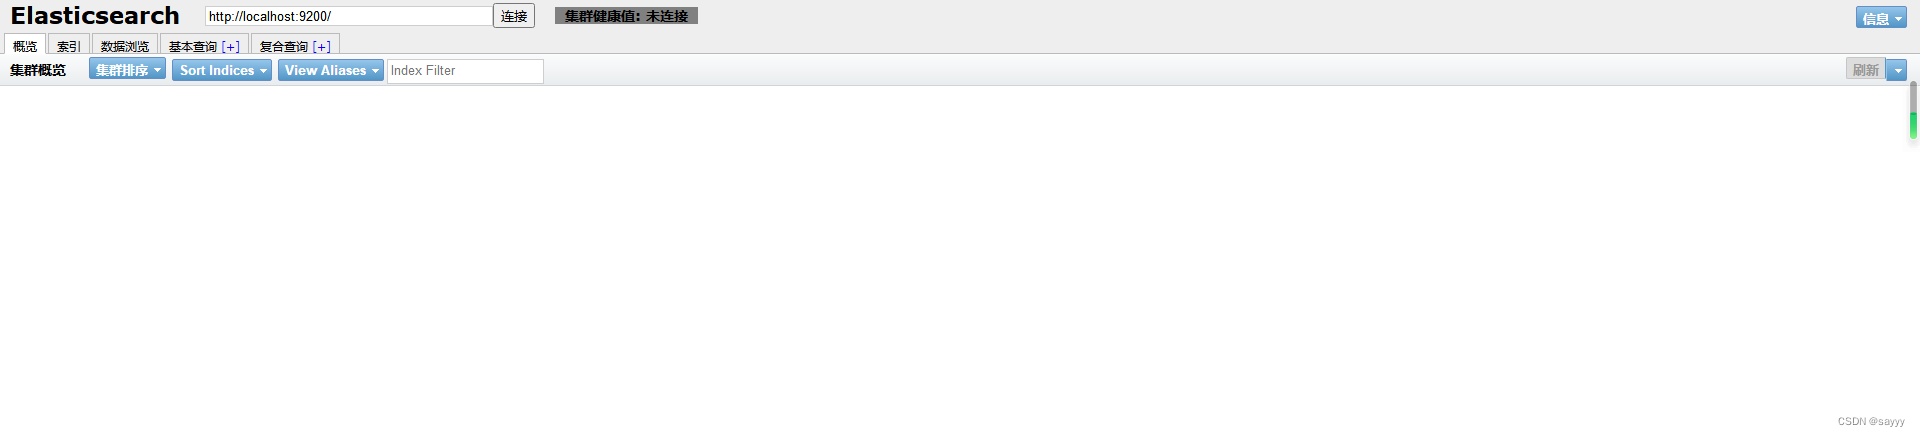
步骤5:检查是否安装成功
浏览器打开 http://localhost:9100, 如果出现以下界面就是安装成功:
ElasticSearch-head 配置
工作目录/WorkingDir
"WorkingDir": "/usr/src/app"
ElasticSearch-head 容器设置
容器随 docker 自动启动
设置容器的重启策略
shell> docker update --restart=always elasticsearch-head1
- 每次docker启动时,容器也会自动启动
容器设置IP
向网络中添加容器
shell> docker network connect --ip 172.19.0.2 mynetwork elasticsearch-head1
- docket ip : 172.19.0.2
其它
打开 elasticsearch-head
- http://localhost:9100
- http://localhost:9100/?base_uri=http://127.0.0.1:9200
- http://localhost:9100/?base_uri=http://127.0.0.1:9200&auth_user=elastic&auth_password=changeme
- http://localhost:9100/?base_uri=http%3A%2F%2F127.0.0.1:9200&auth_user=elastic&auth_password=changeme
登录容器
shell> docker exec -it elasticsearch-head1 /bin/bash
从 docker 向宿主拷贝WorkingDir目录
shell> docker cp elasticsearch-head1:/usr/src/app ~/
从宿主向 docker 拷贝文件
shell> docker cp ~/app/_site/vendor.js elasticsearch-head1:/usr/src/app/_site
406 错误
请求 ElasticSearch API 遇到 406 错误 :
{"error":"Content-Type header [application/x-www-form-urlencoded] is not supported","status":406}
原因:elasticsearch 增加了内容类型检查,推荐使用Content-Type: application/json
解决方法:
- 从 docker 容器向宿主拷贝WorkingDir目录
- 修改_site/vendor.js。编辑vendor.js 共有两处
修改 6886行:
contentType: "application/x-www-form-urlencoded
改成
contentType: "application/json;charset=UTF-8"
修改 7573行:
var inspectData = s.contentType === "application/x-www-form-urlencoded" &&
改成
var inspectData = s.contentType === "application/json;charset=UTF-8" &&
- 将 vendor.js 拷贝到docker容器
- 重启容器
参考
https://blog.csdn.net/wangxilong1991/article/details/80618082
https://blog.csdn.net/biu_biu_duda/article/details/121982287
https://blog.csdn.net/qq_35956041/article/details/101444499
https://github.com/mobz/elasticsearch-head
【前后端不分离】自定义View)


