前言
写了一个工具, 使用Install4j打包, 但因为需要用到XShell, 所以希望在安装界面能够提前让用户配置好XShell的安装位置, 所以对Install4j的安装界面需要自定义, 后期在程序中直接过去安装位置就可以正常使用.
调研
和git-bash不一样, 安装版的XShell没有在注册表里存储安装路径, 但是直接在全局环境变量Path中追加了它的可执行位置, 所以只要我们使用where命令即可获取其安装位置, 基于此原理, 我们定制一个安装界面.
where XShell执行效果:
C:\Users\Administrator>where xshell
D:\Program_Files\NetSarang\Xshell 7\Xshell.exe
配置
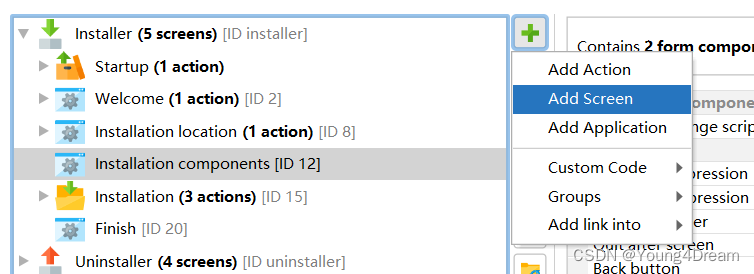
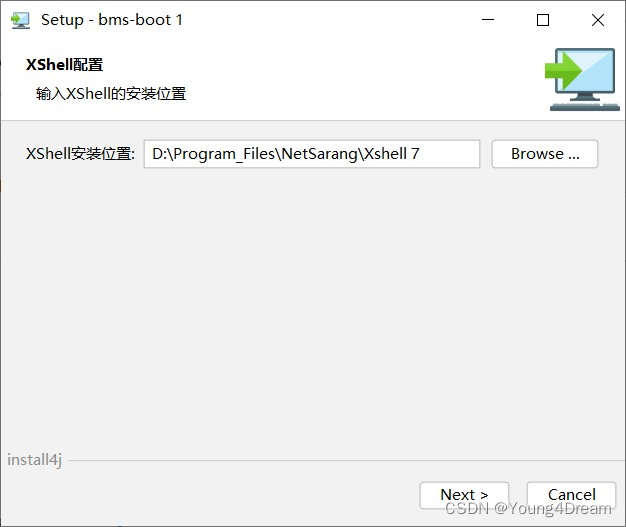
首先我们在Finish界面之前新增一个Screen
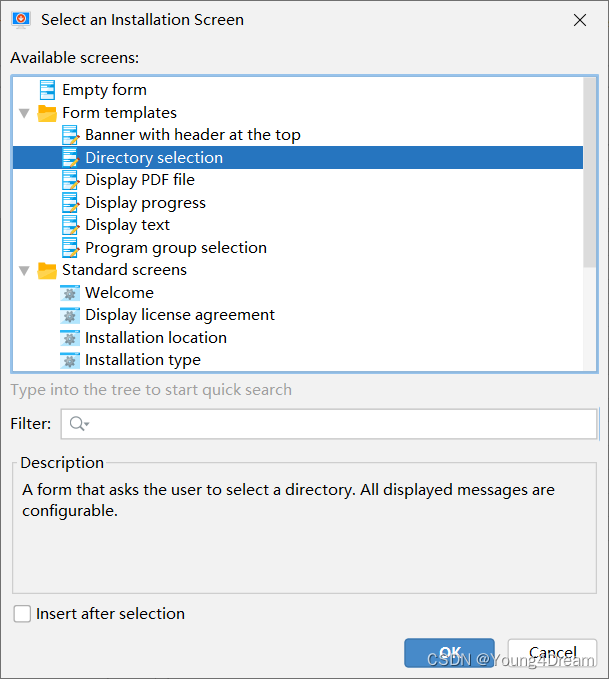
选择一个Directory Selection模板:
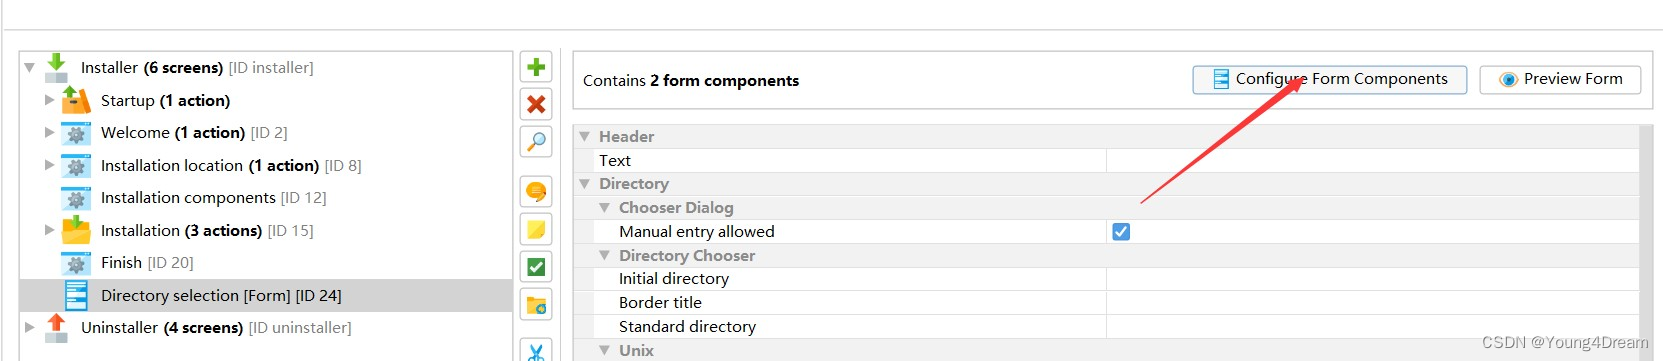
点击右上角Configure Form Components进入编辑:
选中Directory Chooser, 开始编辑初始化脚本(Initialization script)
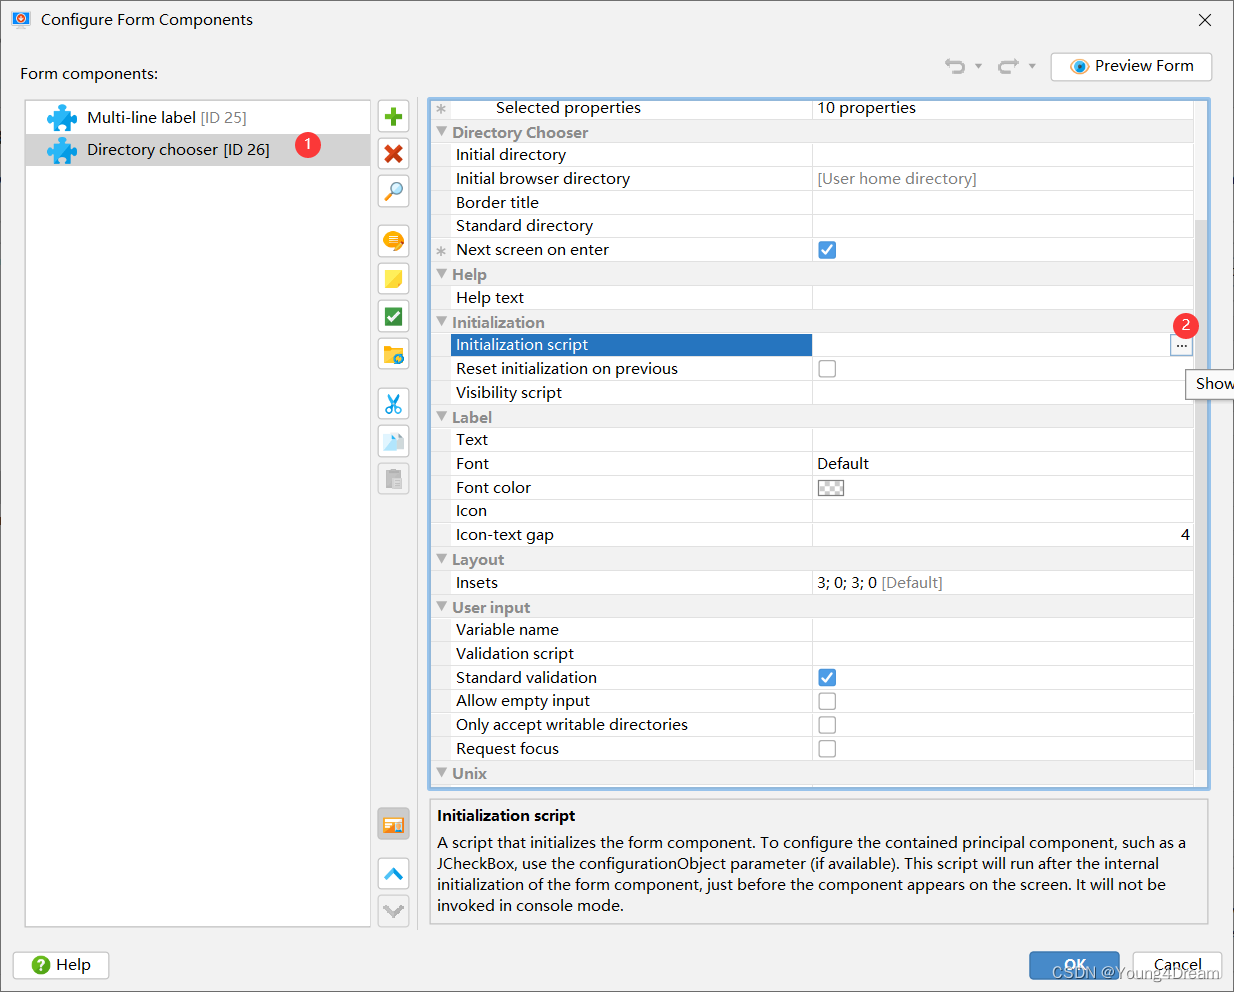
写脚本的思路就是通过cmd执行where xshell, 然后把输出的路径的parent路径赋值给configurationObject.text
本文仅仅为了方便表述, 使用了
Install4J提供的Directory Selection模板, 实际中可以自己定义模板, 然后选择文件组件, 直接让用户指向XShell.exe的所在位置更方便, 这样可以使用文件过滤功能, 更精确也更加人性化.
脚本源码:
import java.nio.file.Paths;Process process = Runtime.getRuntime().exec("where xshell");
InputStream is = null;
InputStreamReader isr = null;
BufferedReader br = null;
try {process.waitFor();is = process.getInputStream();isr = new InputStreamReader(is);br = new BufferedReader(isr);String xshell = br.readLine();String xshellInstallDir = Paths.get(xshell).getParent().toString();configurationObject.setText(xshellInstallDir);
} catch (Exception e) {e.printStackTrace();
} finally {br.close();isr.close();is.close();
}
补充其他必要条件, 比如变量名称等就可以开始调试了
测试效果


![[LeetCode] 167. 两数之和 II - 输入有序数组](http://pic.xiahunao.cn/[LeetCode] 167. 两数之和 II - 输入有序数组)

)


)
![[英语学习][8][Word Power Made Easy]的精读与翻译优化](http://pic.xiahunao.cn/[英语学习][8][Word Power Made Easy]的精读与翻译优化)

