导 读
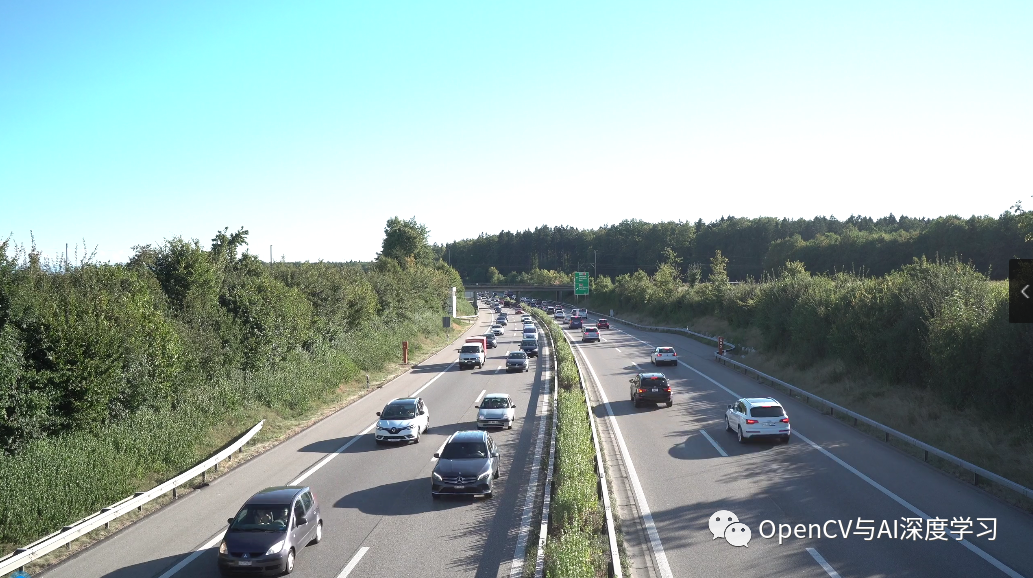
本文主要介绍基于OpenCV+YOLOv5实现车辆跟踪与计数的应用,并给出源码。
资源下载
基础代码和视频下载地址:
https://github.com/freedomwebtech/win11vehiclecount
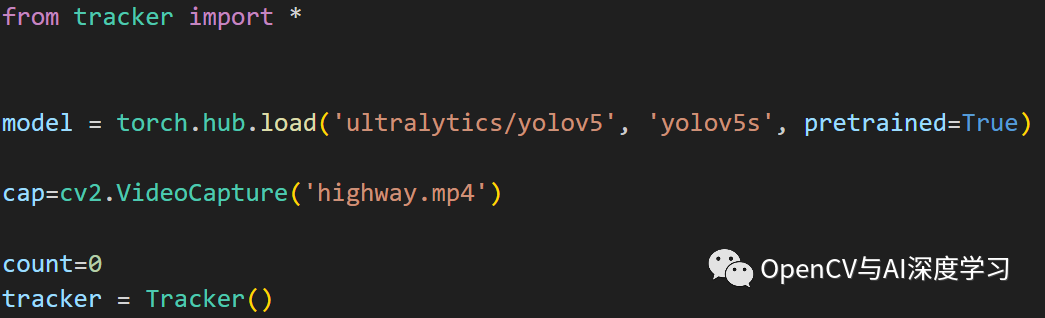
main.py代码:
import cv2import torchimport numpy as npfrom tracker import *model = torch.hub.load('ultralytics/yolov5', 'yolov5s', pretrained=True)cap=cv2.VideoCapture('highway.mp4')count=0tracker = Tracker()def POINTS(event, x, y, flags, param):if event == cv2.EVENT_MOUSEMOVE :colorsBGR = [x, y]print(colorsBGR)cv2.namedWindow('FRAME')cv2.setMouseCallback('FRAME', POINTS)while True:ret,frame=cap.read()if not ret:breakcount += 1if count % 3 != 0:continueframe=cv2.resize(frame,(1020,600))results=model(frame)results.pandas().xyxy[0]cv2.imshow("FRAME",frame)if cv2.waitKey(0)&0xFF==27:breakcap.release()cv2.destroyAllWindows()
tracker.py代码:
import mathclass Tracker:def __init__(self):# Store the center positions of the objectsself.center_points = {}# Keep the count of the IDs# each time a new object id detected, the count will increase by oneself.id_count = 0def update(self, objects_rect):# Objects boxes and idsobjects_bbs_ids = []# Get center point of new objectfor rect in objects_rect:x, y, w, h = rectcx = (x + x + w) // 2cy = (y + y + h) // 2# Find out if that object was detected alreadysame_object_detected = Falsefor id, pt in self.center_points.items():dist = math.hypot(cx - pt[0], cy - pt[1])if dist < 35:self.center_points[id] = (cx, cy)# print(self.center_points)objects_bbs_ids.append([x, y, w, h, id])same_object_detected = Truebreak# New object is detected we assign the ID to that objectif same_object_detected is False:self.center_points[self.id_count] = (cx, cy)objects_bbs_ids.append([x, y, w, h, self.id_count])self.id_count += 1# Clean the dictionary by center points to remove IDS not used anymorenew_center_points = {}for obj_bb_id in objects_bbs_ids:_, _, _, _, object_id = obj_bb_idcenter = self.center_points[object_id]new_center_points[object_id] = center# Update dictionary with IDs not used removedself.center_points = new_center_points.copy()return objects_bbs_ids
下载测试视频highway.mp4(download.txt中有链接):
安装ultralytics:
pip install ultralytics -i https://pypi.tuna.tsinghua.edu.cn/simple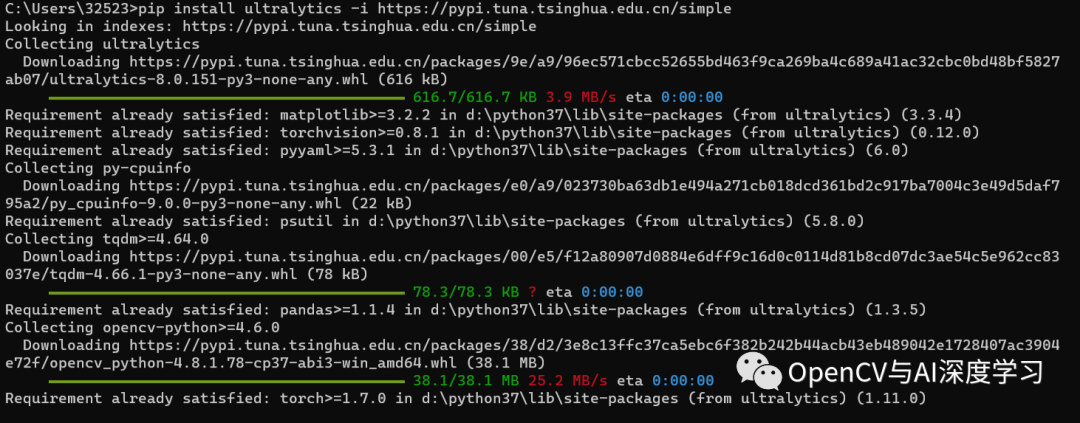
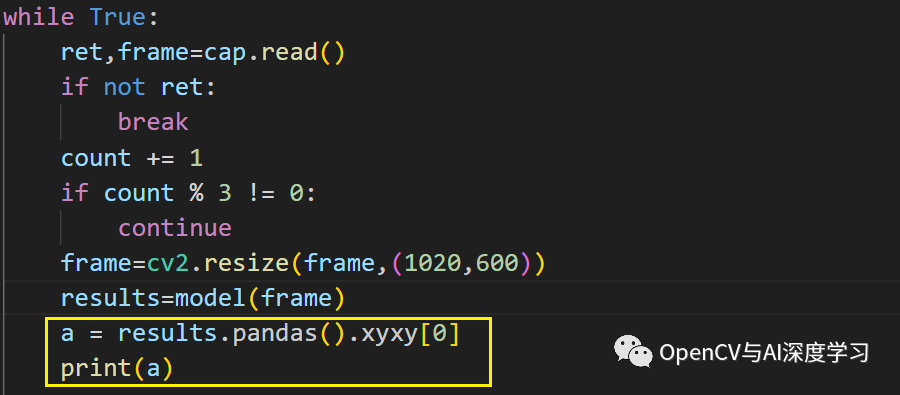
实现车辆检测
添加代码查看YoloV5模型检测输出信息:

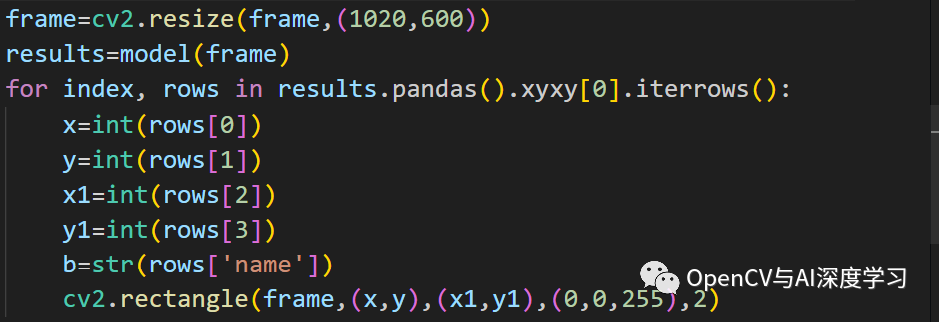
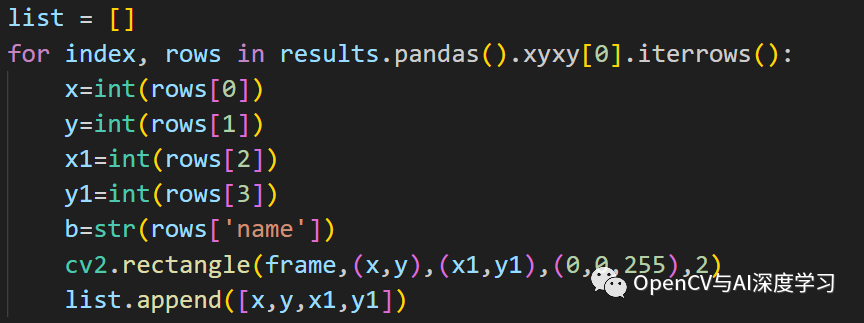
添加车辆检测结果绘制:

实现车辆跟踪
将车辆矩形坐标保存到list中:
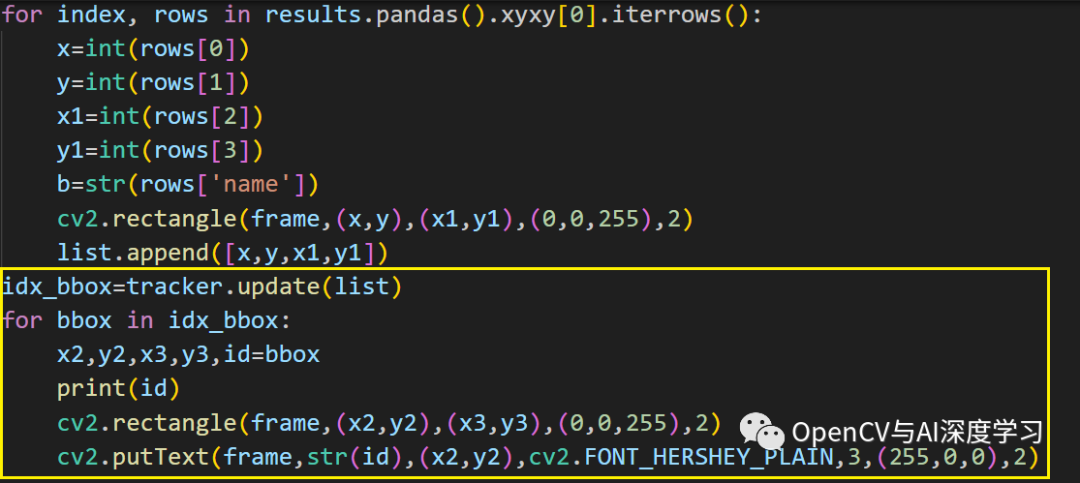
添加对象跟踪:
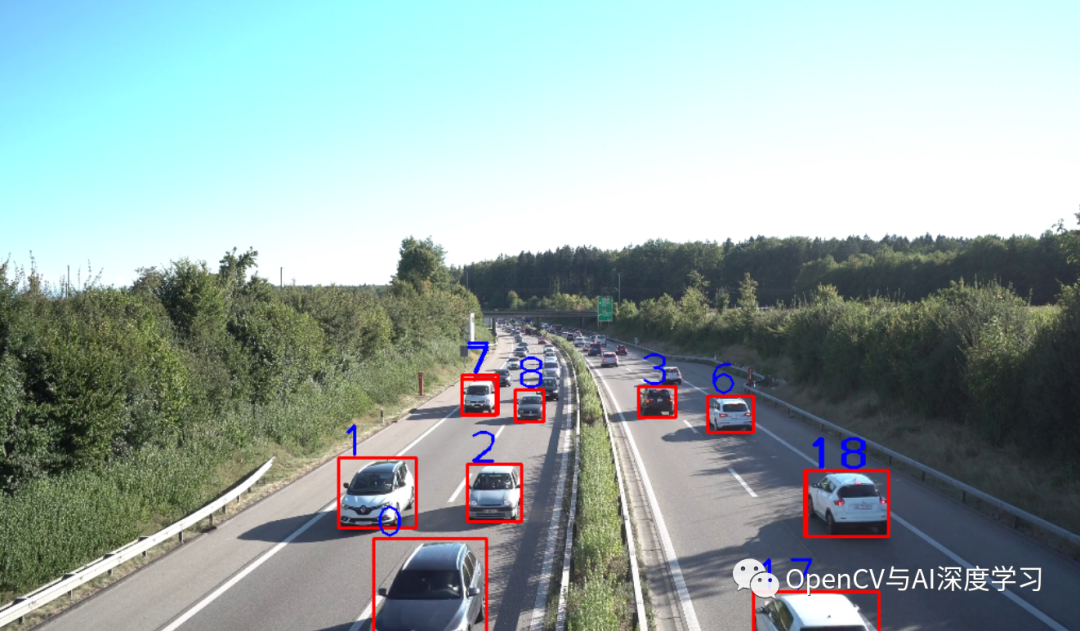
车辆跟踪效果:

实现车辆计数
【1】划定一个多边形区域(黄色),车辆经过此区域则计数;
cv2.polylines(frame,[np.array(areal,np.int32)],True,(0,255,255),3)【2】绿色点标注车辆矩形框右下角坐标点,如下图:
cv2.circle(frame,(x3,y3),4,(0,255,0),-1)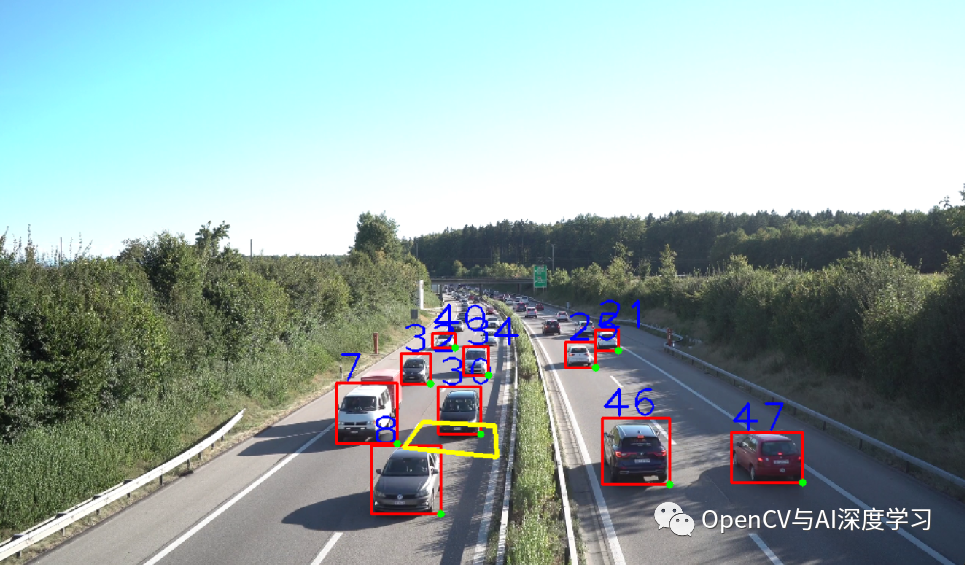
【3】计数原理:判断绿色点是否在黄色四边形内,如果在内计数+1

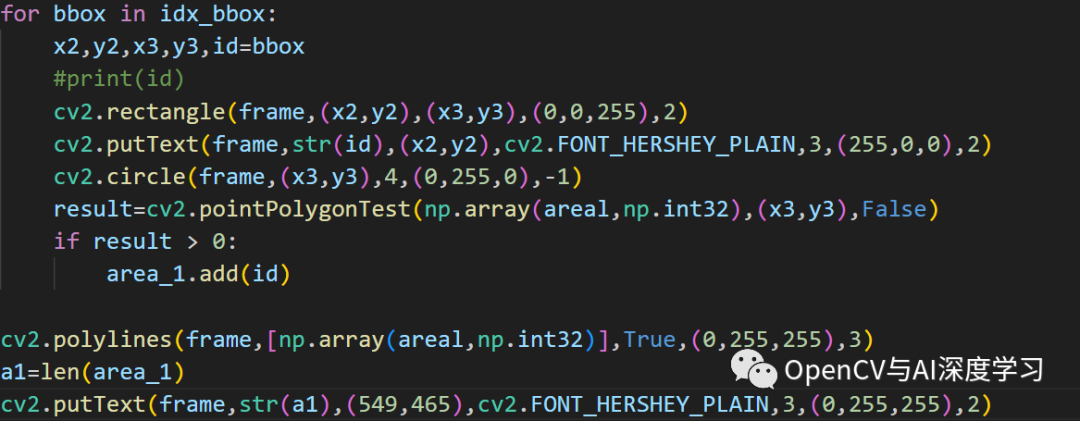
计算点到多边形的距离使用的是OpenCV中pointPolygonTest函数:
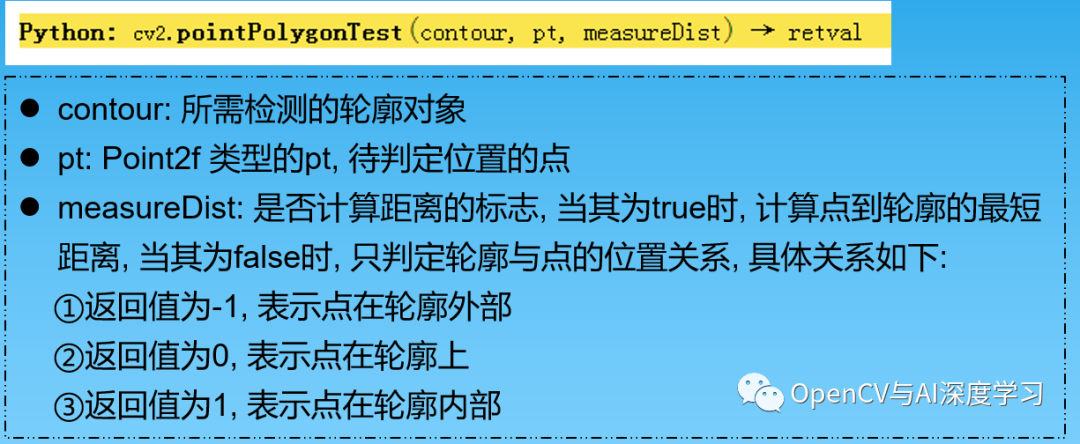
当result > 0表示点在轮廓内,也就是车辆在多边形内。此时将车辆id编号添加到集合area_1中,然后通过len(area_1)作为车辆计数值。
注意:这里为什么不直接用count += 1来计算数量?如果用count += 1会造成很多重复计数,而代码中利用了python集合的特性,add函数添加元素时,如果元素已经存在,则不重复添加,有效的避免了重复计数问题。
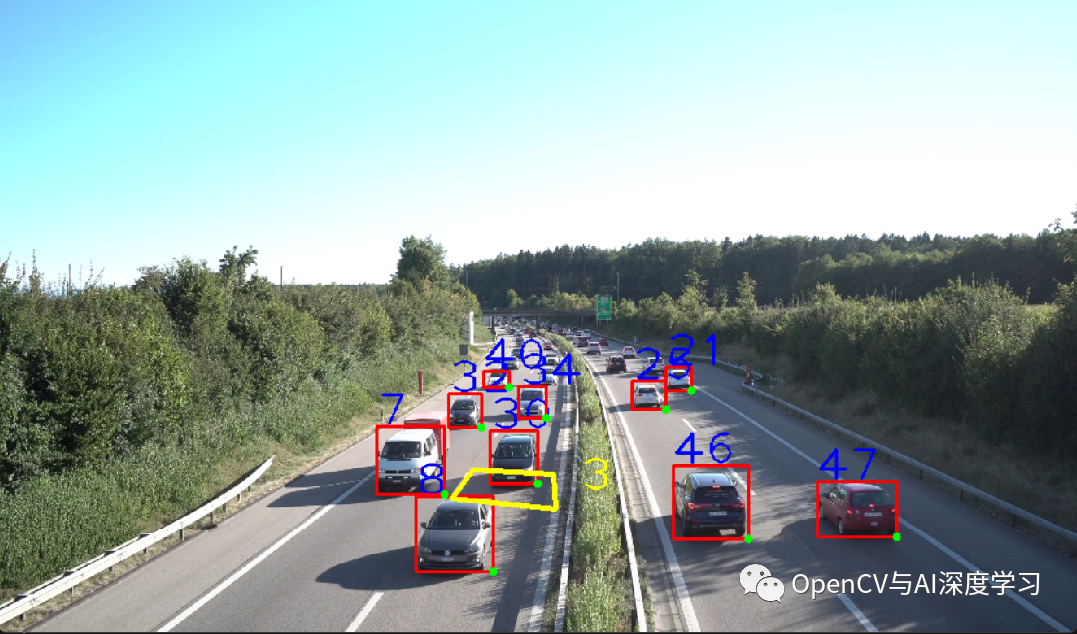
最终效果如下:

】134 - Android 侧 NFS Client 挂载 QNX NFS Server 目录不成功 问题排查方法)


Cocos Creator 图集打包有什么意义 ,我们一般在项目里面怎么规划)


)


 : ‘make‘ not found)

