这里写目录标题
- 多模块项目的搭建
- 父项目的构建
- 子模块的创建
- 父子模块的意义
- 将注册服务引入到父子模块中
- 创建子模块用于发现服务和调用
- 供调用的服务接口
- 创建调用子模块
- 测试
- 一些小问题
在前文中我们实现了微服务的注册参考此文:
Spring Cloud Alibaba中Nacos的安装(Windows平台)以及服务的发现
现在我们需要创建另一个项目来发现服务以及调用注册的服务
多模块项目的搭建
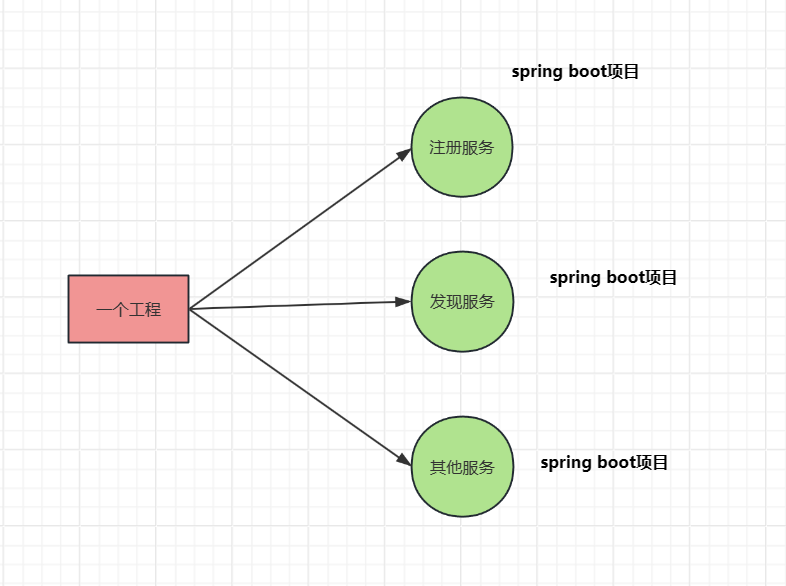
为了方便之后的其他组件的引入,我这里就不再创建新的工程了,而是把之前的注册服务和接下来的nacos发现服务都放到同一个工程里。
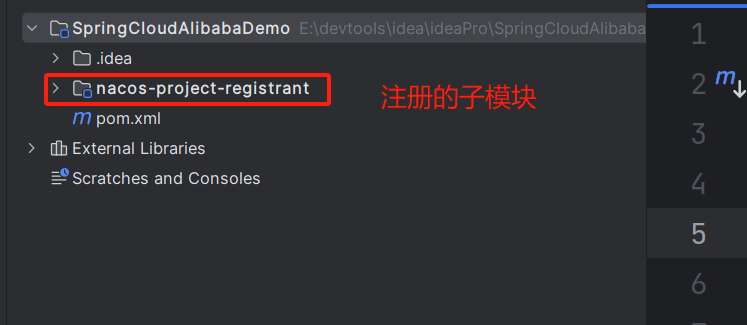
也就是从之前的
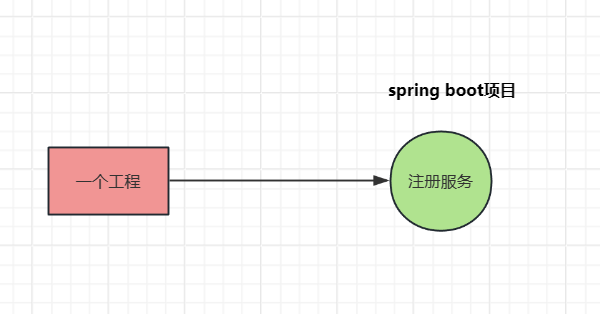
转为以下这样
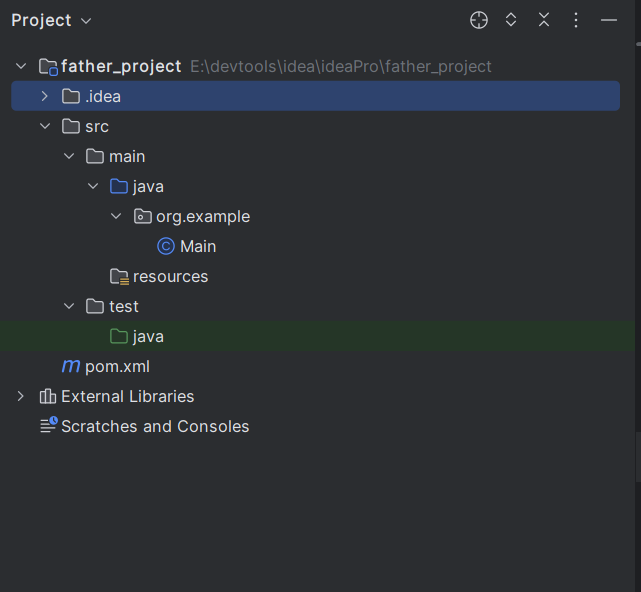
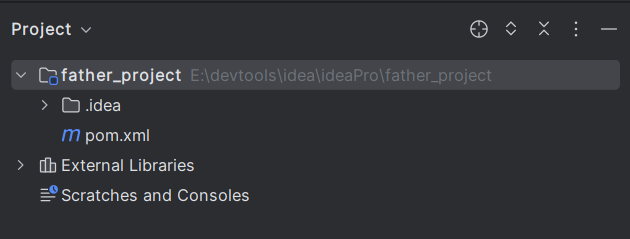
父项目的构建
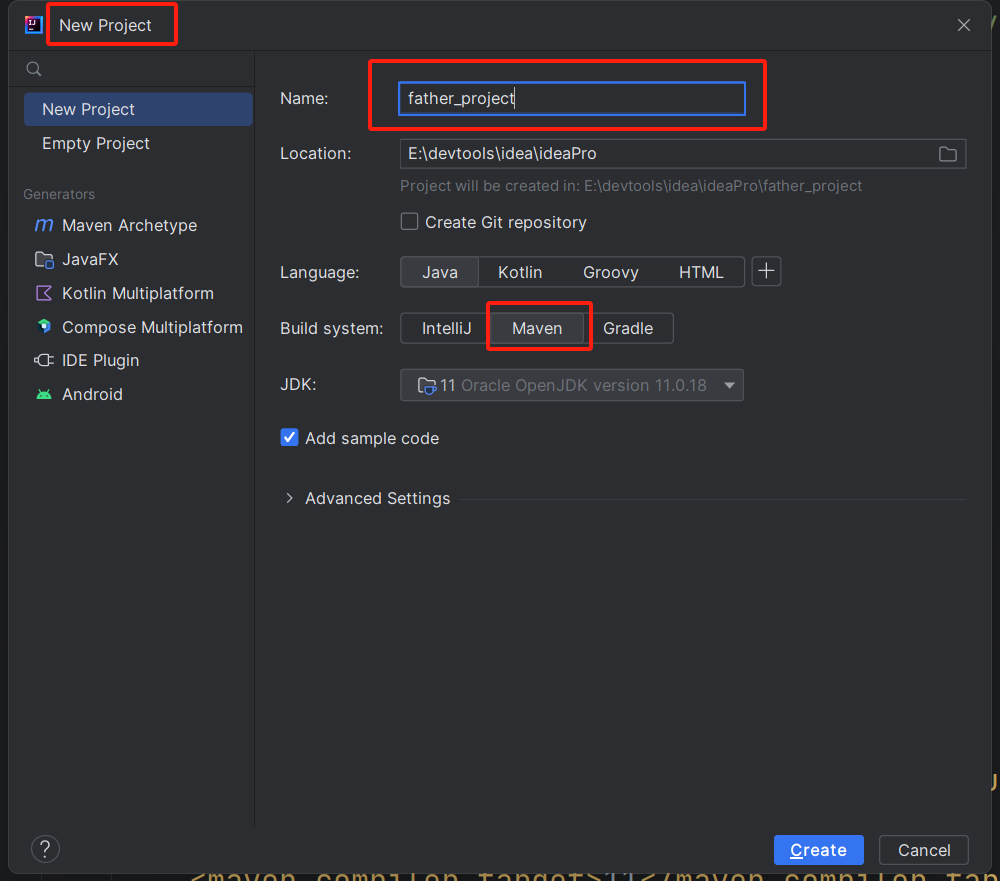
得到的目录结构如图:
然后将src目录删除,因为父模块不需要运行,得到以下的目录结构
子模块的创建
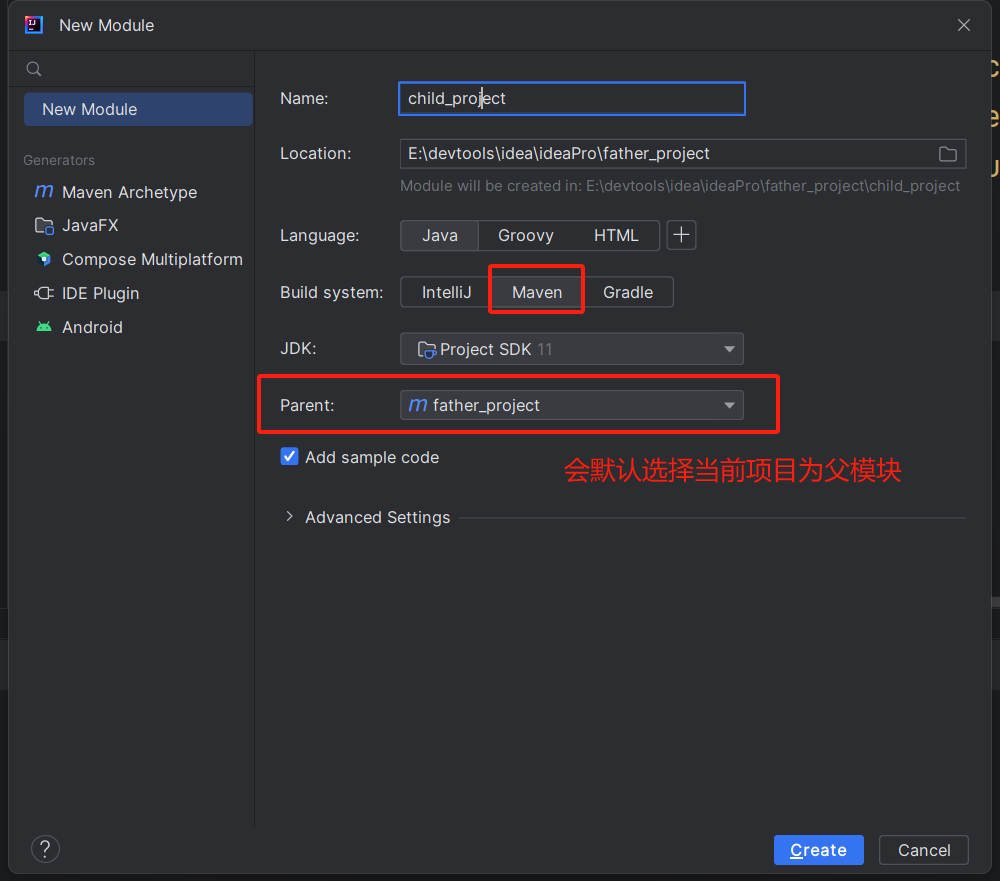
然后我们再新建子模块,右键根目录,选择new -> module
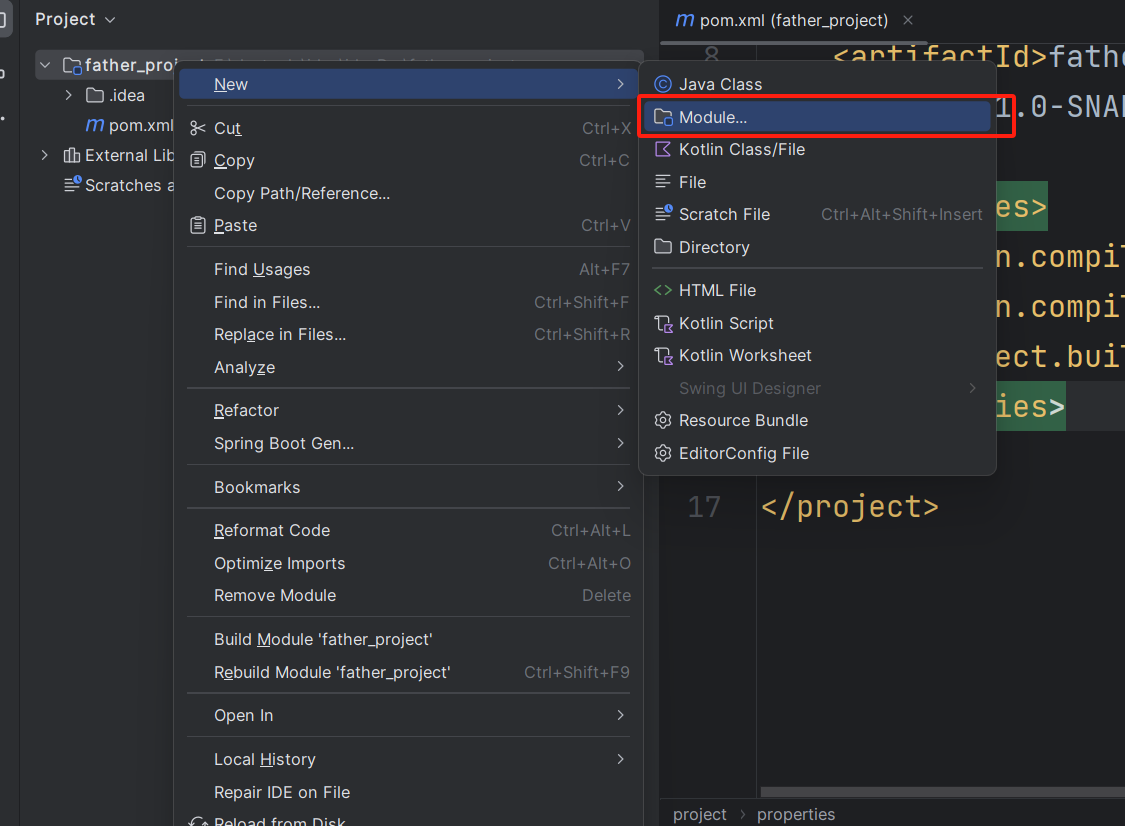
这里的new module创建的照样是一个maven工程,不过此时它存在一个父模块,也就是我们上面的father_project
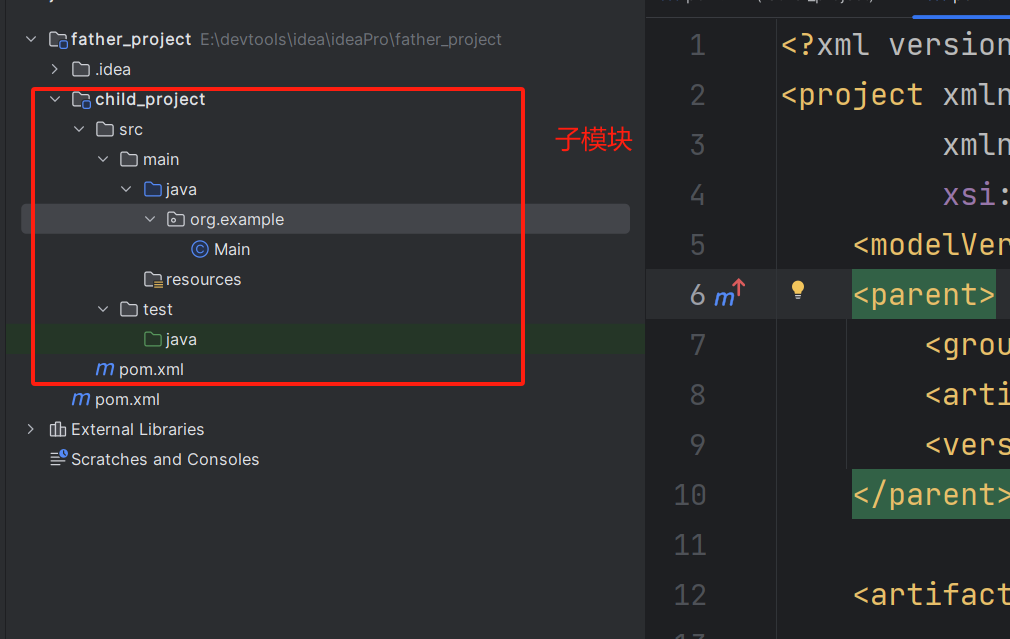
创建以后的目录这样的
父子模块的意义
大家可能会问了,父子模块的意义是什么?为什么不能再创建一个项目?而是使用父子模块?
在 IntelliJ IDEA 中,父子模块的概念与 Maven 或 Gradle 等构建工具中的模块结构概念相关联。
父子模块的意义:
-
模块化管理:父子模块的设计
有助于将项目分解为更小、更易管理的模块单元(听起来像微服务划分的方式)。这种模块化管理使得项目更易于开发和维护,有助于团队协作和复用。 -
依赖管理:父子模块可以有
依赖关系,子模块可以依赖于父模块,同时子模块也可以互相依赖。 -
共享配置:
父模块中定义的配置可以被子模块继承和覆盖,比如版本管理、插件配置等。 -
独立构建:子模块可以
独立构建、测试和运行,同时也可以依赖于其他子模块,最终打包成整个项目。
将注册服务引入到父子模块中
按照上述的方式,将之前的注册项目引入到父子模块结构的项目中,得到如下的项目
这里父项目的pom文件也贴一下
<?xml version="1.0" encoding="UTF-8"?>
<project xmlns="http://maven.apache.org/POM/4.0.0"xmlns:xsi="http://www.w3.org/2001/XMLSchema-instance"xsi:schemaLocation="http://maven.apache.org/POM/4.0.0 http://maven.apache.org/xsd/maven-4.0.0.xsd"><modelVersion>4.0.0</modelVersion><groupId>org.example</groupId><artifactId>SpringCloudAlibabaDemo</artifactId><version>1.0-SNAPSHOT</version><packaging>pom</packaging><!--    子模块的信息--><modules><module>nacos-project-registrant</module></modules><properties><!--        项目的源代码的Java版本--><maven.compiler.source>11</maven.compiler.source><!--        项目编译生成的字节码的目标Java版本--><maven.compiler.target>11</maven.compiler.target><!--        项目的源代码文件的字符编码--><project.build.sourceEncoding>UTF-8</project.build.sourceEncoding><!--        spring boot的版本--><spring-boot.version>2.7.4</spring-boot.version><!--        spring cloud alibaba的版本--><spring-cloud-alibab.version>2021.0.5.0</spring-cloud-alibab.version><!--        nacos-discovery的版本--><spring-nacos.version>2021.0.5.0</spring-nacos.version><!--        spring cloud的版本--><spring-cloud.version>2021.0.5</spring-cloud.version></properties><!--    需要集中管理的依赖 子模块可以通过父模块引入而不需要自己导入--><dependencyManagement><dependencies><!--        Nacos服务注册和发现的集成--><dependency><groupId>com.alibaba.cloud</groupId><artifactId>spring-cloud-starter-alibaba-nacos-discovery</artifactId><version>${spring-nacos.version}</version><type>pom</type><scope>import</scope></dependency><!--            引入spring boot --><dependency><groupId>org.springframework.boot</groupId><artifactId>spring-boot-starter-parent</artifactId><version>${spring-boot.version}</version><type>pom</type><scope>import</scope></dependency><!--            引入spring cloud alibaba --><dependency><groupId>com.alibaba.cloud</groupId><artifactId>spring-cloud-alibaba-dependencies</artifactId><version>${spring-cloud-alibab.version}</version><type>pom</type><scope>import</scope></dependency><!--            部分spring cloud功能使用时候需要引入这个--><dependency><groupId>org.springframework.cloud</groupId><artifactId>spring-cloud-dependencies</artifactId><version>${spring-cloud.version}</version><type>pom</type><scope>import</scope></dependency></dependencies></dependencyManagement><!--    项目的构建配置,包括编译、打包、测试、部署等方面--><build><plugins><!--			spring-boot中用于支持maven打包的插件--><plugin><groupId>org.springframework.boot</groupId><artifactId>spring-boot-maven-plugin</artifactId></plugin></plugins></build></project>
子项目的目录结构与之前的相似
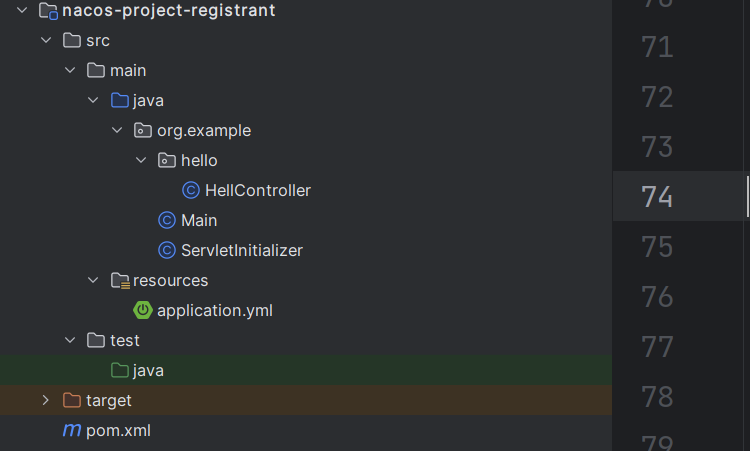
这里子模块的pom文件也照样贴一下,除了依赖的引入方式变成从父模块引入,别的都一样:
<?xml version="1.0" encoding="UTF-8"?>
<project xmlns="http://maven.apache.org/POM/4.0.0"xmlns:xsi="http://www.w3.org/2001/XMLSchema-instance"xsi:schemaLocation="http://maven.apache.org/POM/4.0.0 http://maven.apache.org/xsd/maven-4.0.0.xsd"><modelVersion>4.0.0</modelVersion><packaging>war</packaging><parent><groupId>org.example</groupId><artifactId>SpringCloudAlibabaDemo</artifactId><version>1.0-SNAPSHOT</version></parent><artifactId>nacos-project-registrant</artifactId><properties><maven.compiler.source>11</maven.compiler.source><maven.compiler.target>11</maven.compiler.target><project.build.sourceEncoding>UTF-8</project.build.sourceEncoding></properties><!--    由于父模块中已经引入了,所以这里不需要配置版本,项目会自动以父模块为准--><dependencies>
<!--        spring boot的引入--><dependency><groupId>org.springframework.boot</groupId><artifactId>spring-boot-starter-web</artifactId></dependency><!--        Nacos服务注册和发现的集成--><dependency><groupId>com.alibaba.cloud</groupId><artifactId>spring-cloud-starter-alibaba-nacos-discovery</artifactId></dependency></dependencies><!--    项目的构建配置,包括编译、打包、测试、部署等方面--><build><resources><!--			构建项目过程中被复制到输出目录中,以便它们可以在应用程序运行时访问--><resource><directory>src/main/java</directory><includes><!--					项目内mybatis的dao配置文件--><include>**/*.xml</include></includes></resource><resource><directory>src/main/resources</directory><includes><!--					资源文件--><include>**/*.*</include></includes></resource></resources><plugins><!--			spring-boot中用于支持maven打包的插件--><plugin><groupId>org.springframework.boot</groupId><artifactId>spring-boot-maven-plugin</artifactId></plugin></plugins><!--        打包出来的名称 一般是项目的缩写外加版本号 --><finalName>npr</finalName></build></project>
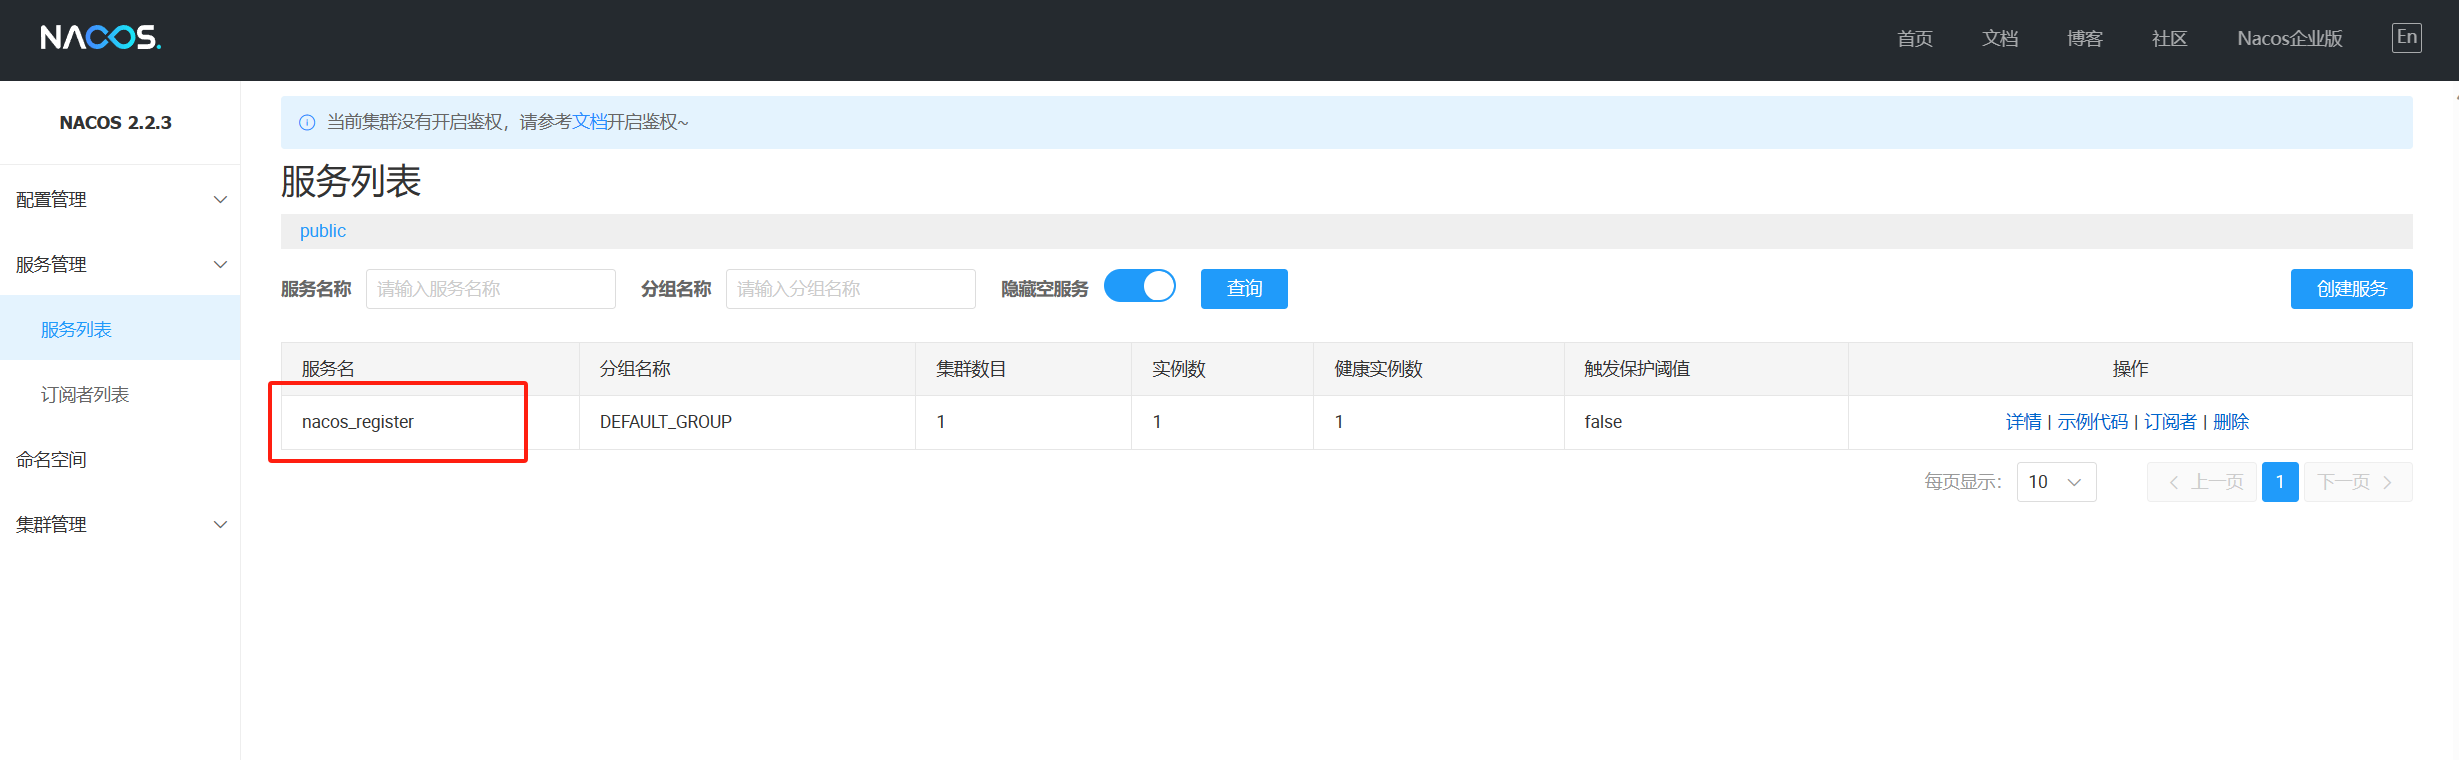
我们再验证一下是否引入成功,启动注册服务
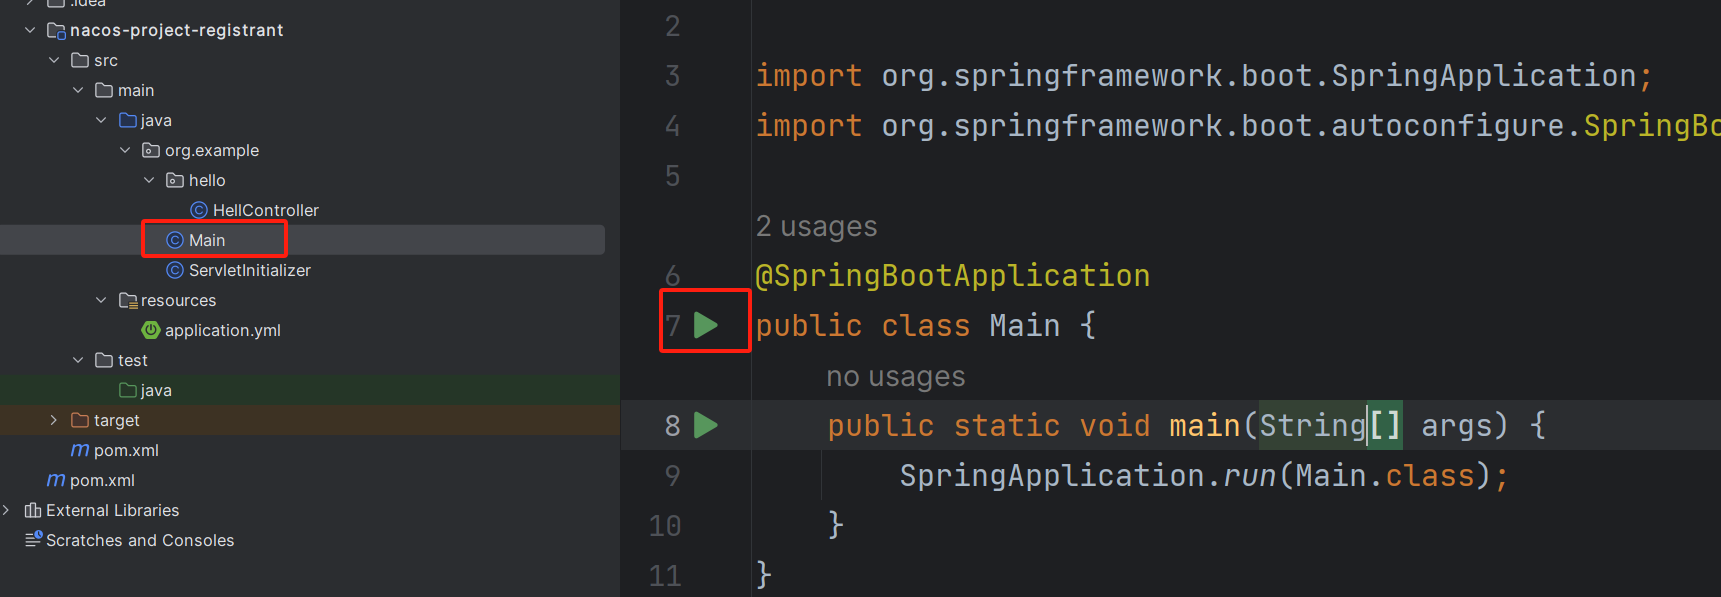
如果nacos中对应服务存在,则表示成功
如果运行失败,可能是nacos没启动导致的
创建子模块用于发现服务和调用
接下来我们再创建一个子模块用于发现注册的服务,以及调用该服务的接口
供调用的服务接口
这里我们先在注册服务中创建一些接口,供订阅者调用

import org.springframework.web.bind.annotation.GetMapping;
import org.springframework.web.bind.annotation.PathVariable;
import org.springframework.web.bind.annotation.RestController;@RestController
public class NacosTest {@GetMapping("/echo/{string}")public String echo(@PathVariable String string) {return "成功调用注册服务的接口,代码为:" + string;}@GetMapping("/test")public String test() {return "调用服务的测试";}
}
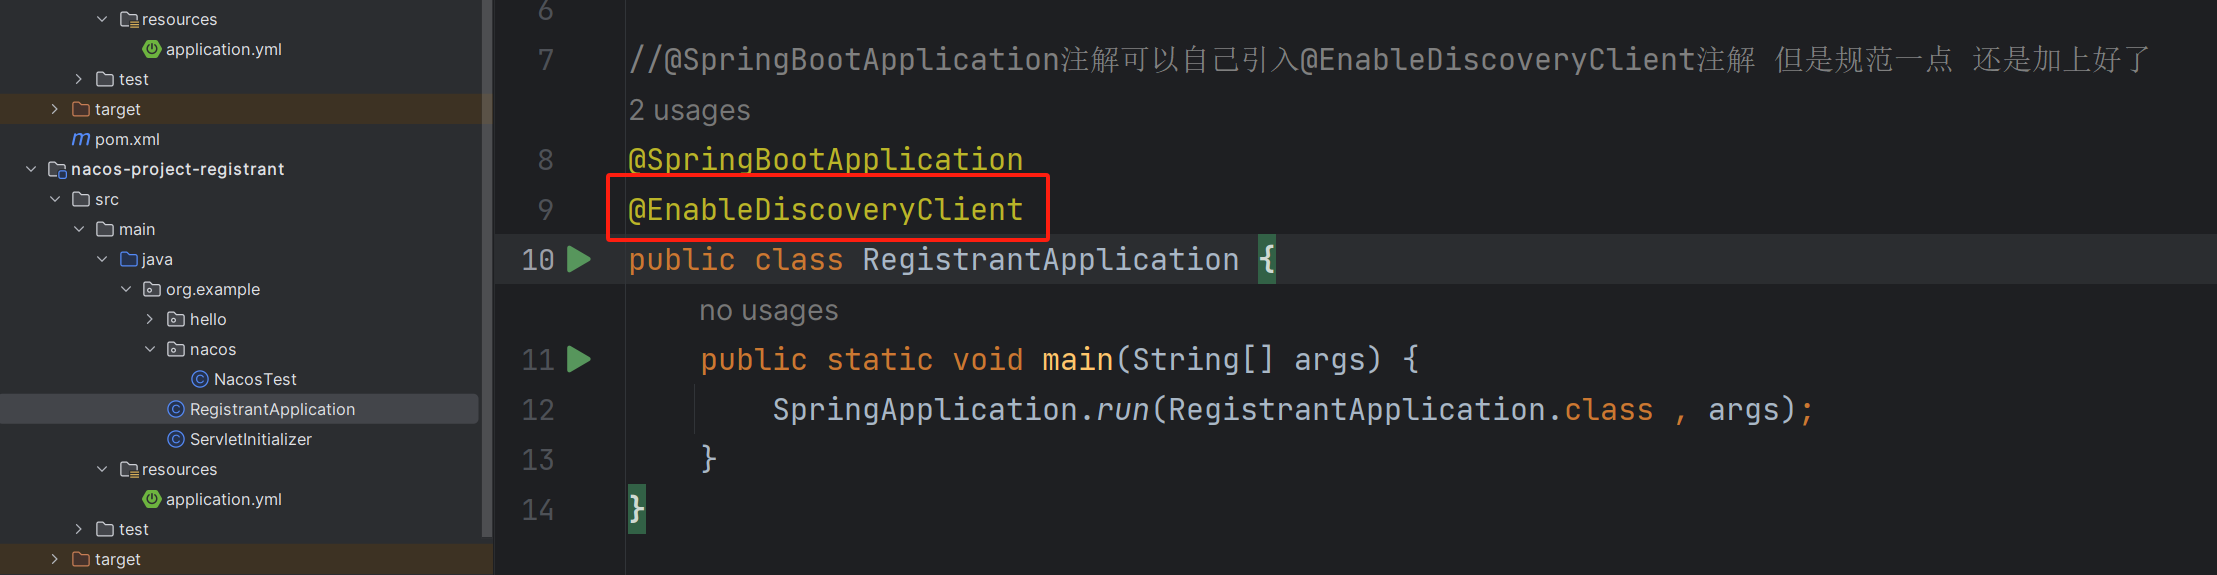
在启动类上添加@EnableDiscoveryClient注解,启用Nacos客户端的发现
创建调用子模块
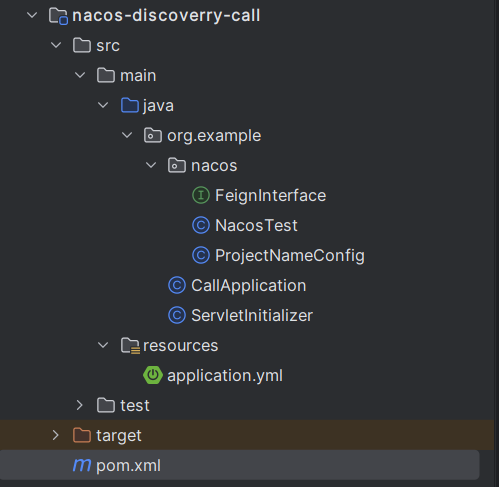
按照上面的方式创建一个名为nacos-discoverry-call子模块,并将其改为spring boot项目,如下图所示
pom文件内容为:
<?xml version="1.0" encoding="UTF-8"?>
<project xmlns="http://maven.apache.org/POM/4.0.0"xmlns:xsi="http://www.w3.org/2001/XMLSchema-instance"xsi:schemaLocation="http://maven.apache.org/POM/4.0.0 http://maven.apache.org/xsd/maven-4.0.0.xsd"><modelVersion>4.0.0</modelVersion><packaging>war</packaging><parent><groupId>org.example</groupId><artifactId>SpringCloudAlibabaDemo</artifactId><version>1.0-SNAPSHOT</version></parent><artifactId>nacos-discoverry-call</artifactId><properties><maven.compiler.source>11</maven.compiler.source><maven.compiler.target>11</maven.compiler.target><project.build.sourceEncoding>UTF-8</project.build.sourceEncoding></properties><!--    由于父模块中已经引入了,所以这里不需要配置版本,项目会自动以父模块为准--><dependencies><!--        spring boot的引入--><dependency><groupId>org.springframework.boot</groupId><artifactId>spring-boot-starter-web</artifactId></dependency><!--        Nacos服务注册和发现的集成--><dependency><groupId>com.alibaba.cloud</groupId><artifactId>spring-cloud-starter-alibaba-nacos-discovery</artifactId></dependency><!--        openfeign提供服务的远程调用--><dependency><groupId>org.springframework.cloud</groupId><artifactId>spring-cloud-starter-openfeign</artifactId></dependency><!--        open-feign在默认情况下依赖于负载均衡 新版本中已经不再强制依赖ribbon 而是推荐loadbalancer--><dependency><groupId>org.springframework.cloud</groupId><artifactId>spring-cloud-starter-loadbalancer</artifactId></dependency></dependencies><!--    项目的构建配置,包括编译、打包、测试、部署等方面--><build><resources><!--			构建项目过程中被复制到输出目录中,以便它们可以在应用程序运行时访问--><resource><directory>src/main/java</directory><includes><!--					项目内mybatis的dao配置文件--><include>**/*.xml</include></includes></resource><resource><directory>src/main/resources</directory><includes><!--					资源文件--><include>**/*.*</include></includes></resource></resources><plugins><!--			spring-boot中用于支持maven打包的插件--><plugin><groupId>org.springframework.boot</groupId><artifactId>spring-boot-maven-plugin</artifactId></plugin></plugins><!--        打包出来的名称 一般是项目的缩写外加版本号 --><finalName>ndc</finalName></build></project>
application.yml文件除了application.name以及port其他无变化:
server:port: 9001tomcat:uri-encoding: UTF-8spring:application:name: nacos-callcloud:nacos:discovery:server-addr: 192.168.2.102:8848
#        控制应用程序在启动时对配置中心的连接行为 如果没有连接到客户端则会立即启动失败fail-fast: true
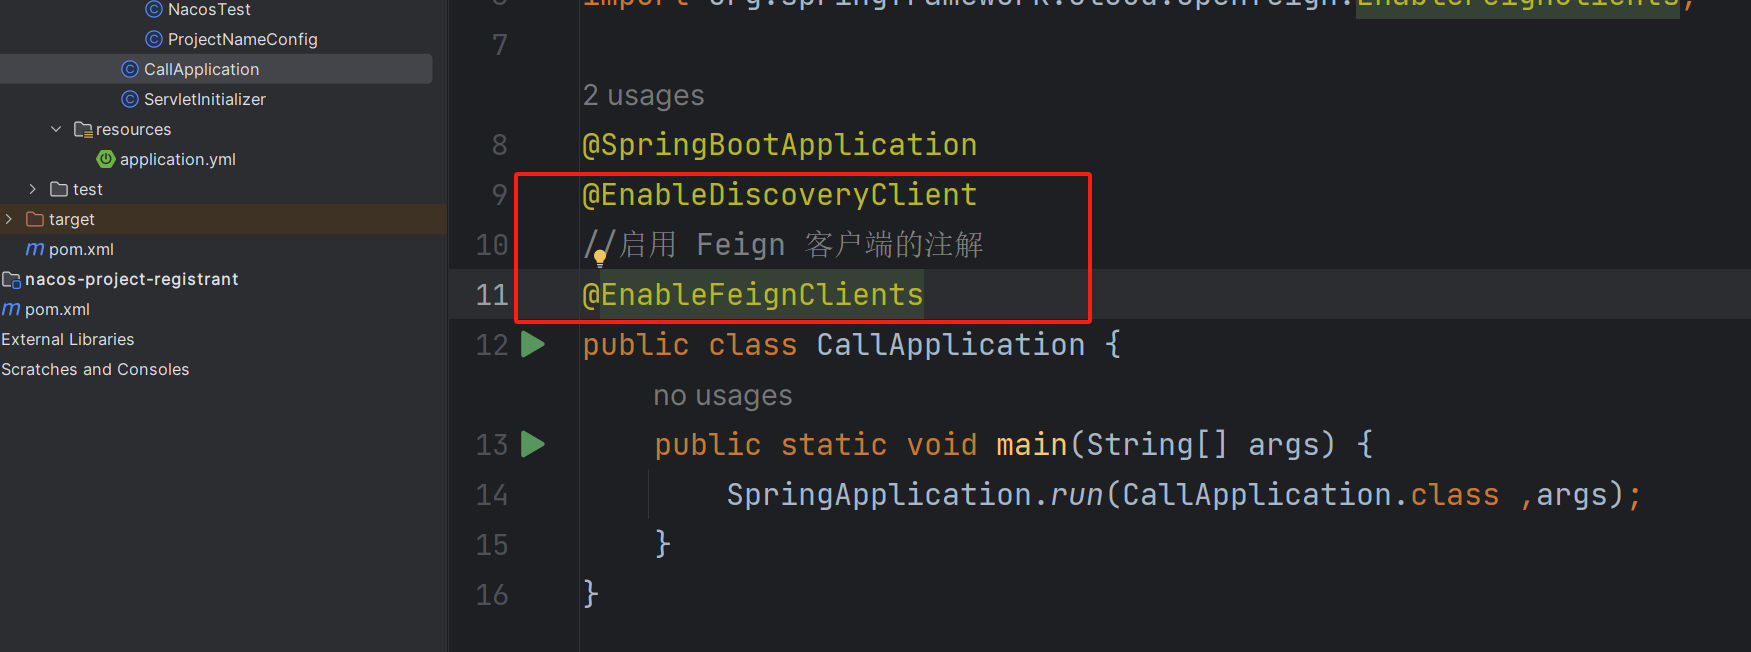
启动类CallApplication中需要添加以下两个注解,启用服务的发现和调用:
调用类相关的就以下两个
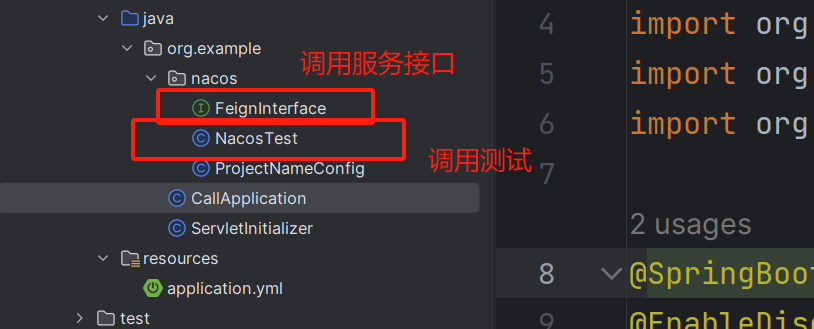
FeignInterface调用的接口,定义了某个服务调用的接口:
import org.springframework.cloud.openfeign.FeignClient;
import org.springframework.web.bind.annotation.GetMapping;
import org.springframework.web.bind.annotation.PathVariable;
//feign接口提供服务的调用 name为所调用服务的名称
@FeignClient(name="nacos-register")
public interface FeignInterface {@GetMapping("/echo/{str}")String echo(@PathVariable("str") String str);
}
NacosTest为测试的控制器
import org.springframework.beans.factory.annotation.Autowired;
import org.springframework.web.bind.annotation.GetMapping;
import org.springframework.web.bind.annotation.PathVariable;
import org.springframework.web.bind.annotation.RestController;
import org.springframework.web.client.RestTemplate;@RestController
public class NacosTest {private final static String SERVICE_ADDR = "http://192.168.2.102:9000";//Fegin接口提供的调用方式@AutowiredFeignInterface feignInterface;//直接使用Rest风格模板来实现调用 不推荐private RestTemplate template = new RestTemplate();@GetMapping("/echo/{string}")public String echo(@PathVariable String string) {//直接使用Rest风格模板来实现调用return template.getForObject(SERVICE_ADDR + "/echo/" + string , String.class);}@GetMapping("/test")public String test() {//直接使用Rest风格模板来实现调用return template.getForObject(SERVICE_ADDR+"/test" , String.class);}@GetMapping("/iecho/{string}")public String iecho(@PathVariable String string) {//Fegin接口提供的调用方式return feignInterface.echo(string);}}
测试
启动两个子模块,进入Nacos控制台
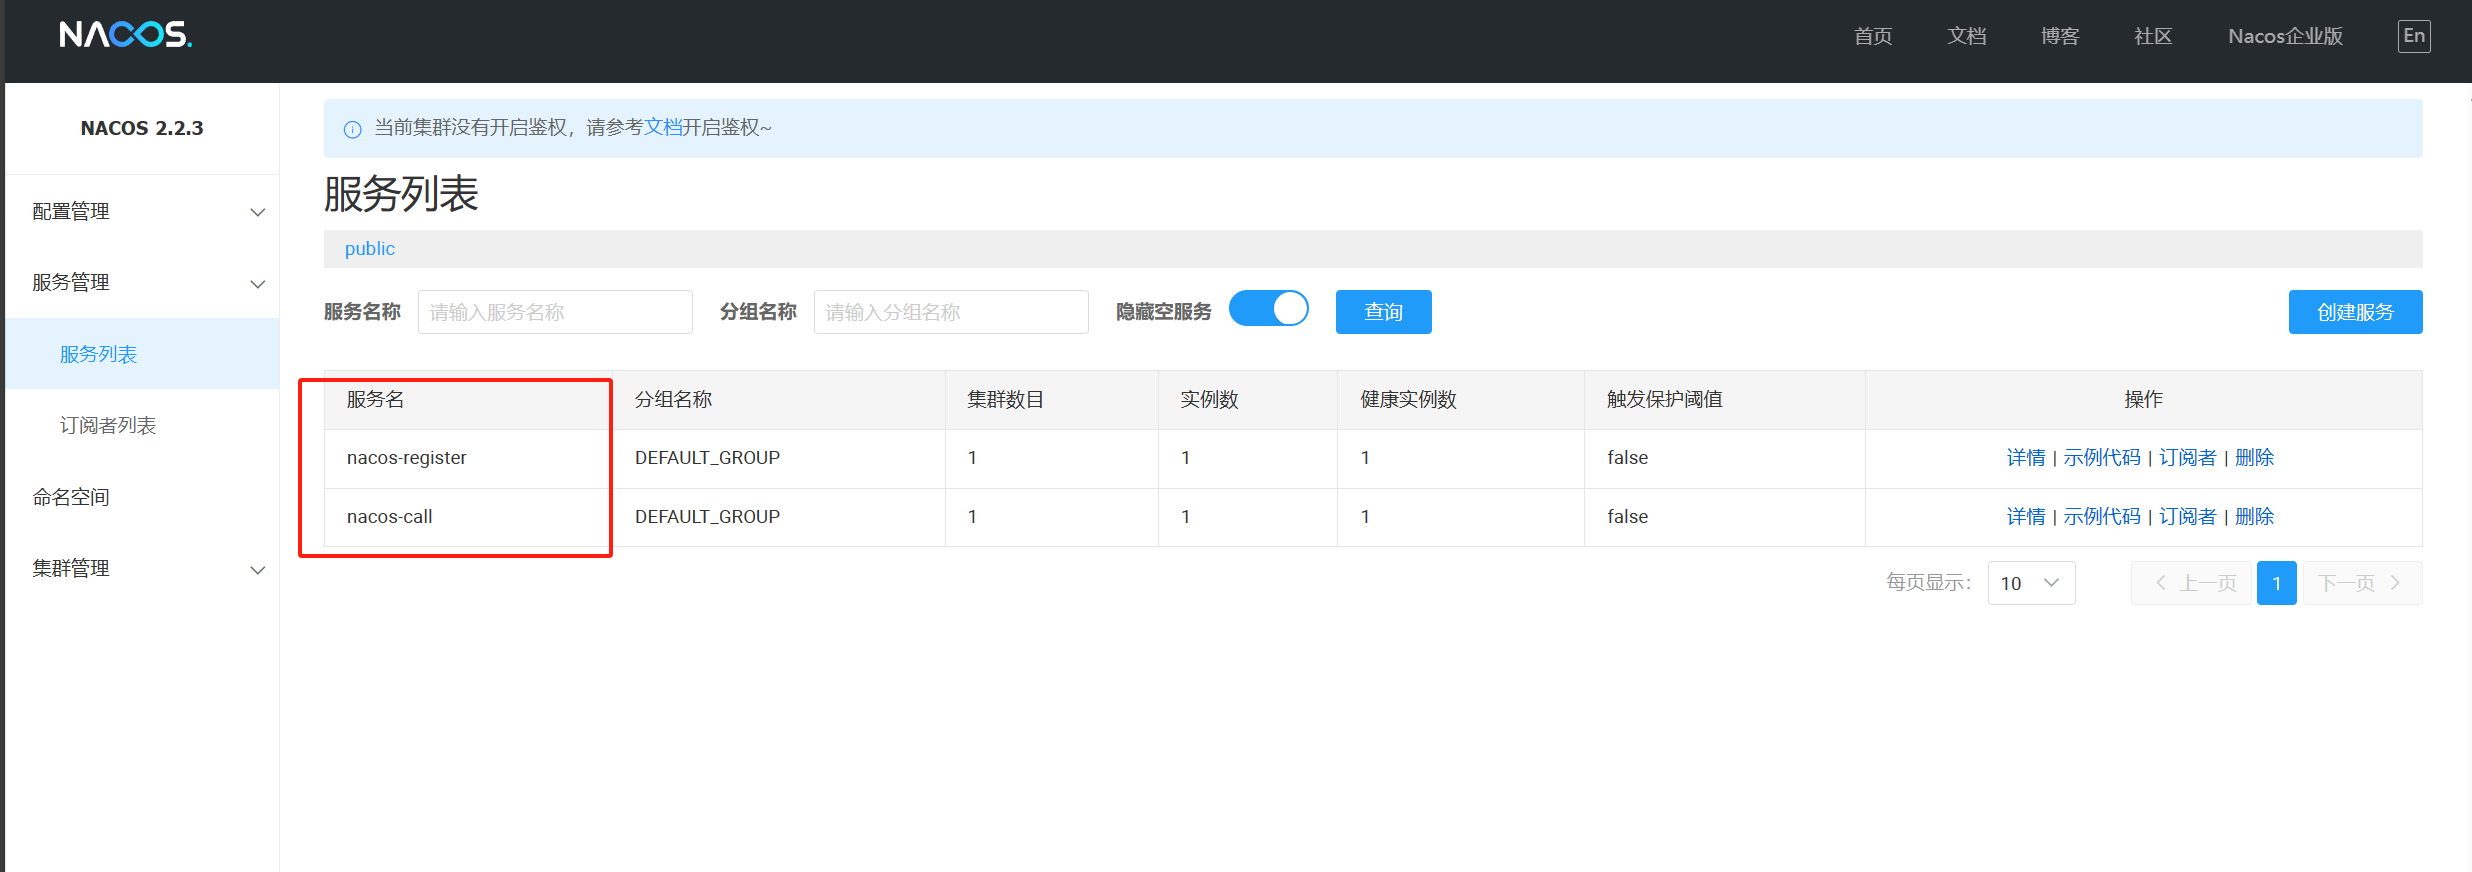
这里可以发现两个已经注册的服务,说明没问题,然后我们调用一下,检查是否调用服务(nacos-call)能否调用到注册服务(nacos-register)中的接口
地址栏输入http://localhost:9001/iecho/125 调用注册服务中的echo接口
有以下显示即为成功

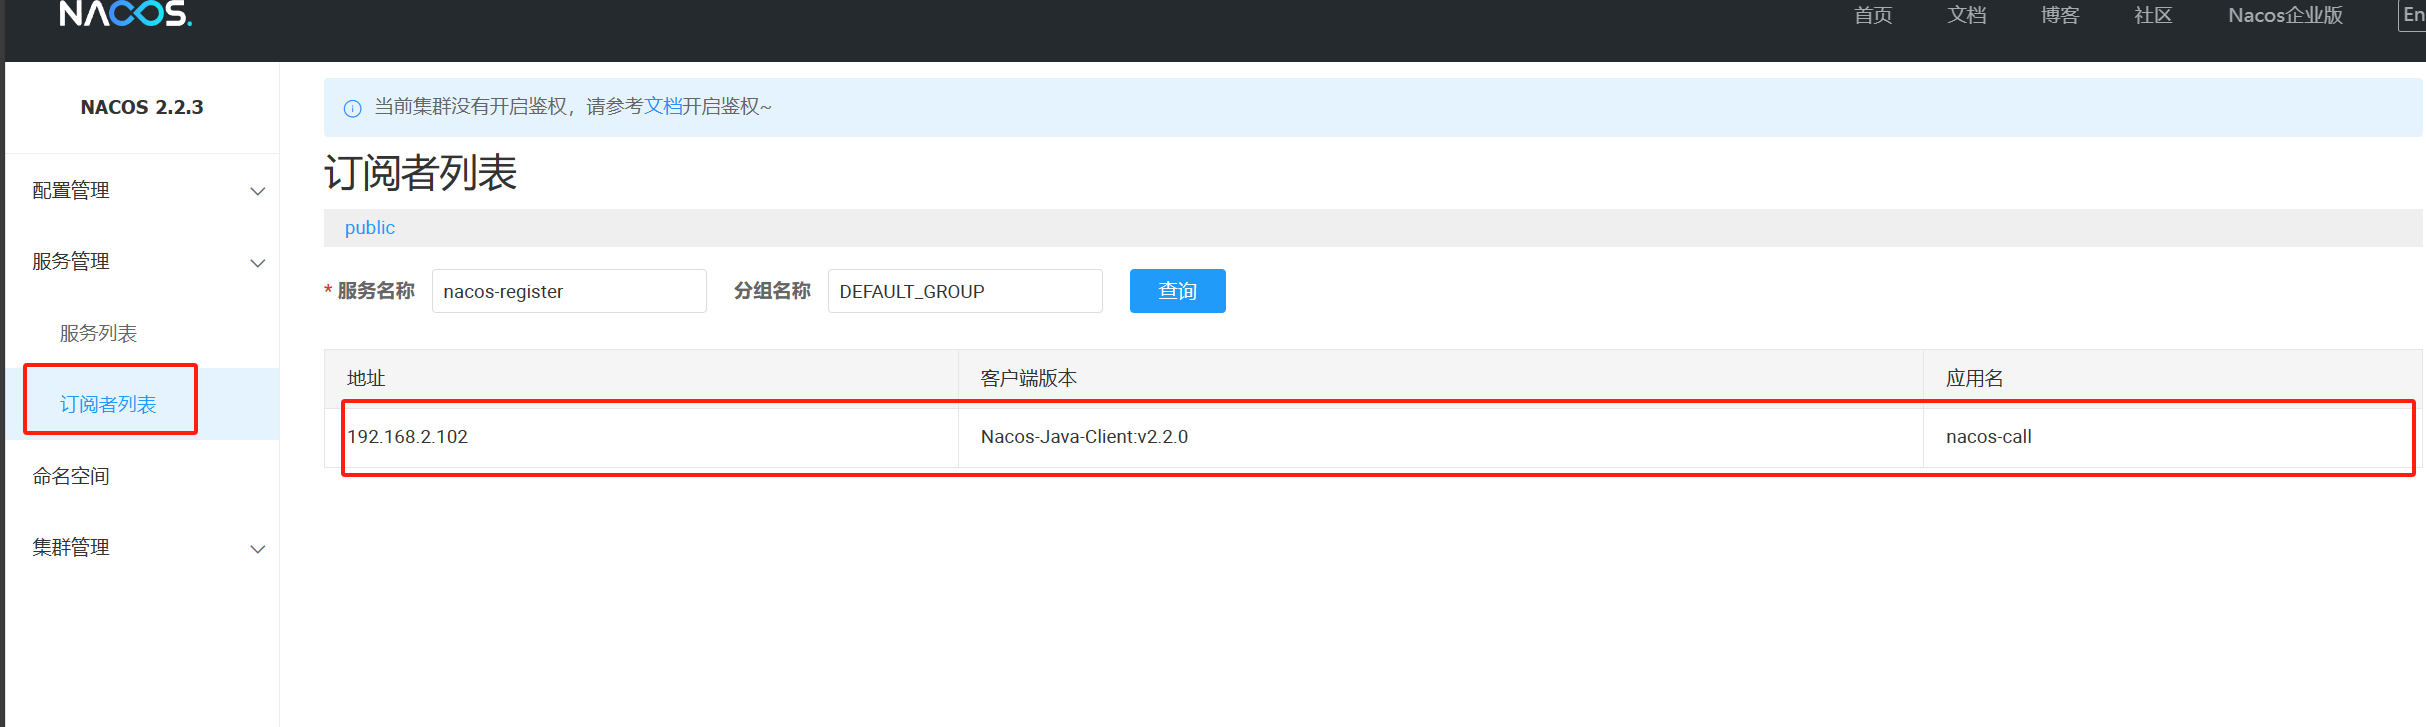
此时点开订阅者列表可看到,nacos-call服务
还可以输入http://localhost:9001/test测试/test接口

一些小问题
订阅者有时候不显示应用名称而是显示为unknow

自己给环境设置一下即可
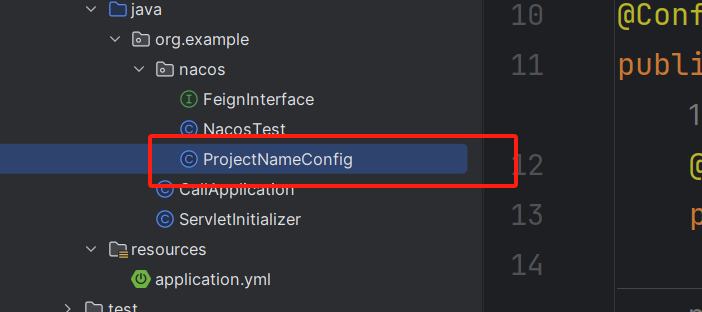
ProjectNameConfig代码为:
import com.alibaba.nacos.common.utils.StringUtils;
import org.springframework.beans.factory.annotation.Value;
import org.springframework.context.EnvironmentAware;
import org.springframework.context.annotation.Configuration;
import org.springframework.core.env.Environment;//用于设置订阅者一栏中的应用名称
@Configuration
public class ProjectNameConfig implements EnvironmentAware {@Value("${spring.application.name}")private  String applicationName;@Overridepublic void setEnvironment(Environment environment) {if(StringUtils.isBlank(System.getProperty("project.name"))){System.setProperty("project.name",applicationName);}}
}


,实现一个方法操作多个数据源)


)


